I love this time of year, in fact I will go as far as saying that autumn is my favourite season. The nights start to draw in, the leaves start to change colour and the abundance of new fruit and vegetables leaves me yearning for casseroles and flaky pastry pies.
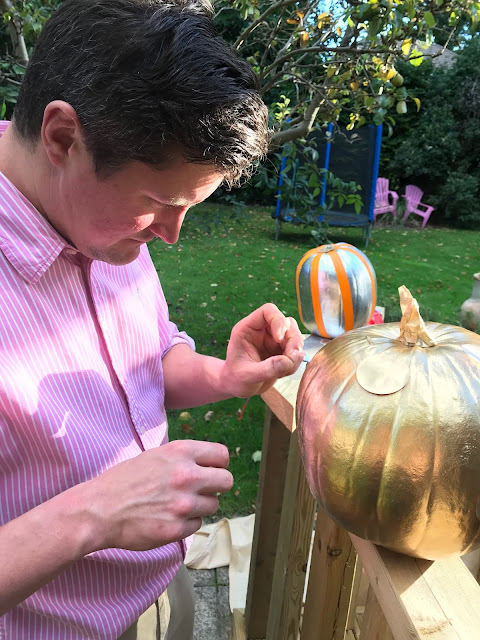
This month also sees that spooky tradition of Halloween. I have to be honest I am not a massive fan of this holiday and the prospect of taking my kids door to door knocking for sweets quite frankly leaves me feeling a little awkward. That said being a modern day mum I like to embrace all these holidays and we always have a pumpkin outside but this year I decided that having lusted over patterned pumpkins over on Pinterest last year to this year pimp my pumpkins!!
So after work this afternoon I went in search of materials and as soon as Webbo stepped through the door we set about this super simple task....
What you'll need....
- Pumpkin (mine were a bargain, big one £3, smaller ones £1 each from Tesco)
- Spray paint colour of your choice (I got mine from B&Q for £9 each)
- Shape stickers or electrical/masking tape
How to do it....
 |
| Start by sticking and pressing down your chosen shape sticker |
 |
| Make sure to cover your little stalk too! |
 |
| Spray your pumpkin with a thin coat of the paint - don't be tempted to spray too much in one area. Now leave to dry! |
 |
| Carefully peel off the stickers... |
 |
| I chose to do one with stripes |
 |
| And I love the way the one with stars came out! |
I am so chuffed with how these turned out and they really were so easy to do and all finished and by my fireplace within half an hour!
Please SHARE this post so that you too can jazz up your pumpkins as wildly or as simply as you like but I hope you'll find some inspiration in my pumpkins!
Nathalie x


No comments
Post a Comment